- +33 (1) 41 31 82 82
- Send us an email
- Support Center
Configure Automated Testing with JENKINS
Although it has always been possible to integrate AscentialTest with Jenkins manually, the new AscentialTest Jenkins Plugin makes that integration much easier to accomplish.
The Plugin configures and runs the AscentialTest command lines to execute tests and generate reports.
It also makes use of an existing Jenkins plugin to create a bar chart of pass/fail/blocked/not-run history.
The AscentialTest plugin can be installed from the Jenkin’s Plug-in Manager like any other plug-in.
How to Use the AscentialTest Jenkins Plug-in?
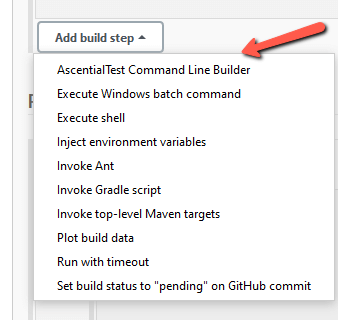
- From the Jenkins Build panel, select ‘AscentialTest Command Line Builder’ from the ‘Add build step’ dropdown:
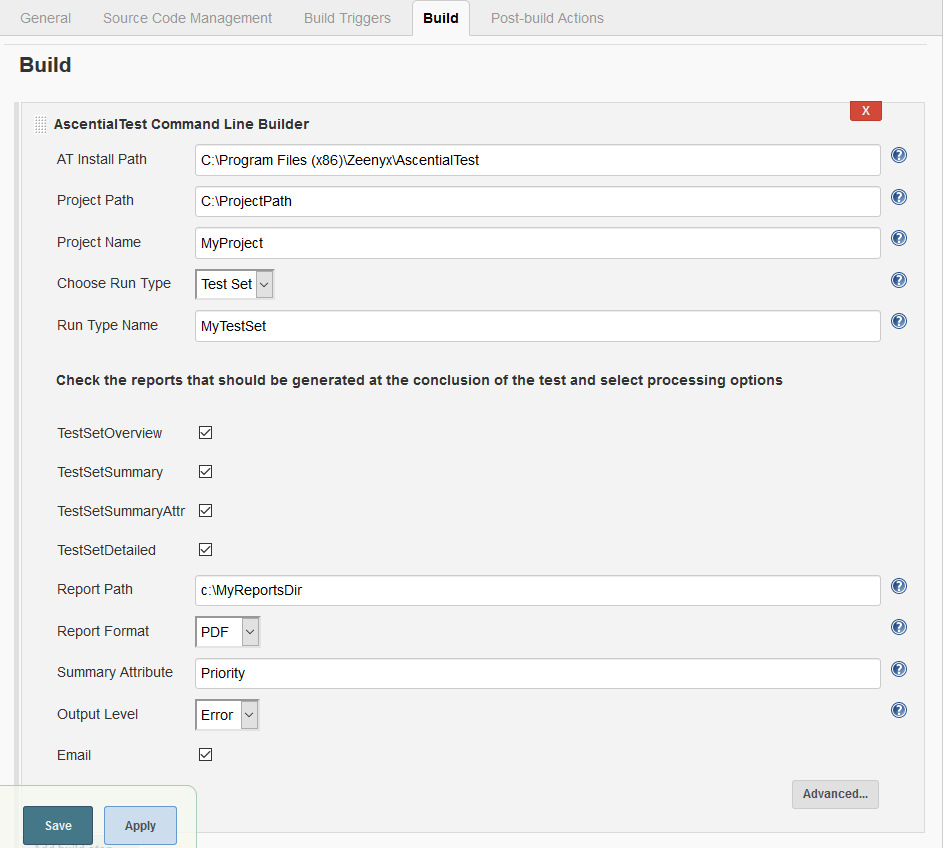
- The primary panel captures parameters that are most often used for the atrun and atreports command lines. The user can choose to run test sets or individual tests.
- This Advanced panel captures the values of parameters that are less commonly used. It is displayed when the user clicks the ‘Advanced’ button:
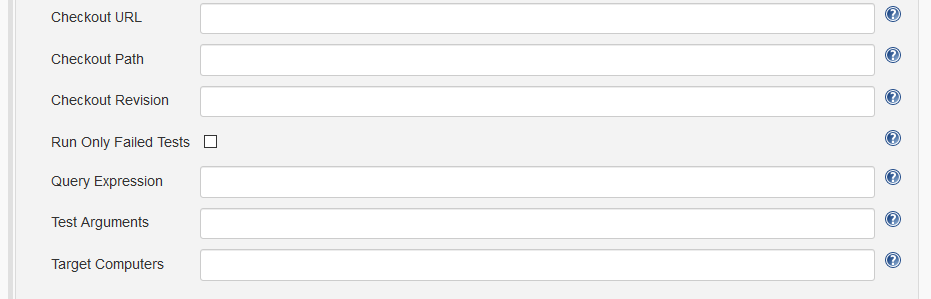
The Plugin panels indicate missing required fields and provide ‘help’, using standard Jenkins method. If the user clicks on the icon, a help panel will display to describe the associated parameter.
In addition to running the command lines to execute tests and generate AscentialTest Test Set reports, the plug-in also generate results data that can be graphed using other Jenkins Plug-ins.
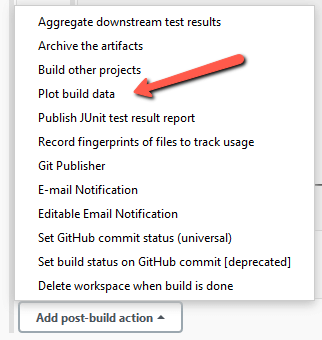
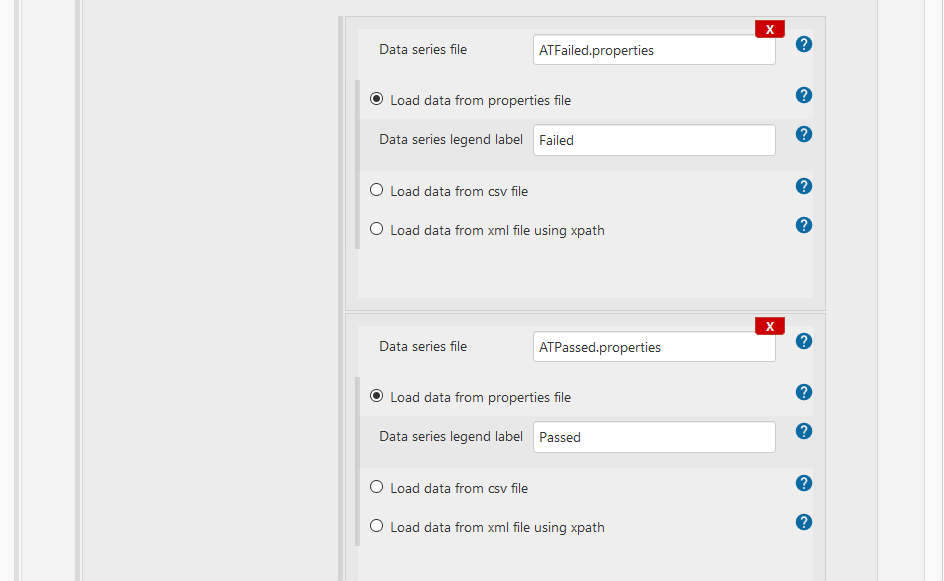
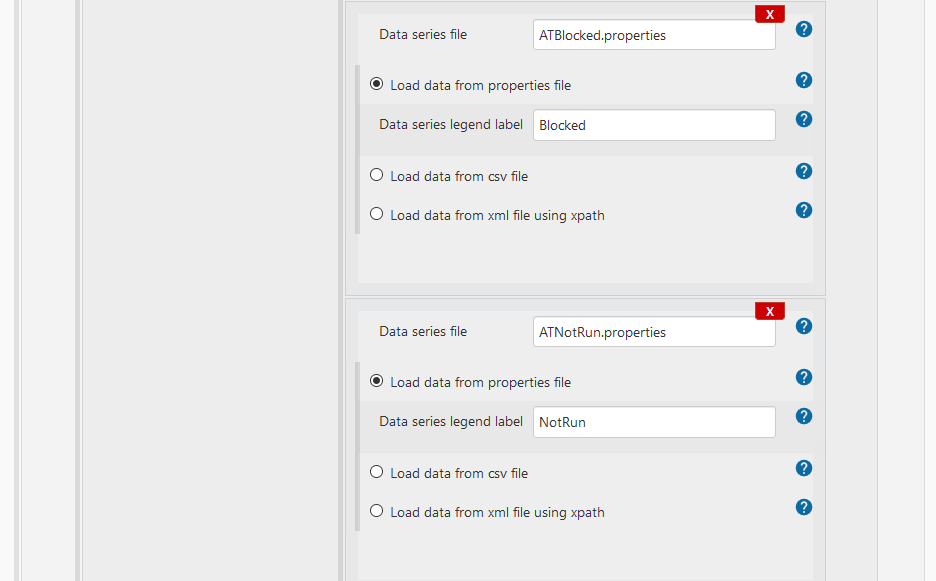
If you install the ‘Plot’ plugin, you can add a post-build action to plot the data that is exported at the completion of each AscentialTest run.
To assist you with configuring the Plot plug-in, the following example is provided:

After inputting all of the AscentialTest Plug-in parameters, click ‘Save’ to return to the Jenkins Project Workspace.
Then click the ‘Build Now’ link to execute tests and generate results.
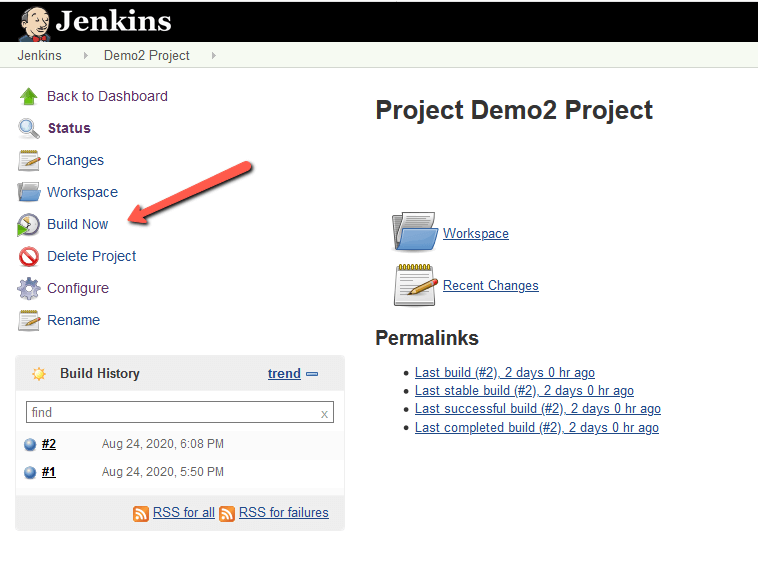
Based on whatever triggers are set in the Jenkins project, the test will either begin to run immediately or when the trigger events occur.
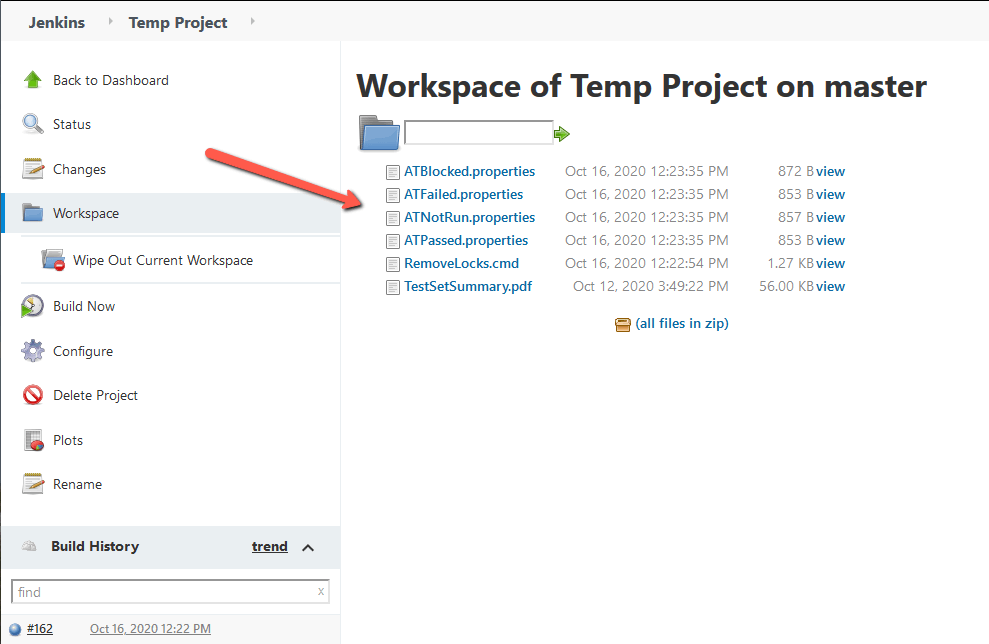
Once the run is complete, the reports selected in the new plugin panel will be available in the ‘Report Path’ folder set in the primary plug-in panel. If you selected the Jenkins Workspace as the ‘Report Path’ the reports can be opened directly from the Jenkins Workspace by double-clicking.
In addition to the standard AscentialTest reports that can be selected from the primary plug-in panel:
If you have installed the ‘Plots’ plug-in, you can click on ‘Plots’ to generate a bar chart of the pass/fail history like the one pictured below:
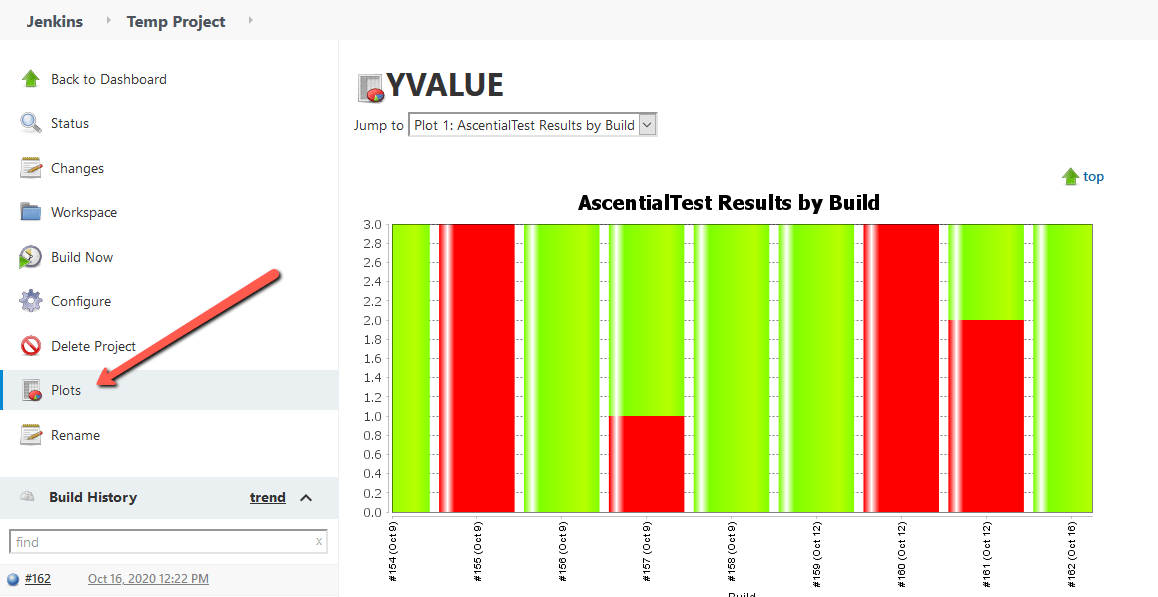
This report provides a good way to compare the results of Test Set execution over time.
Prerequisites
The AscentialTest Plug-in uses environment variables that must be injected into the Jenkins build environment.
The ‘Environment Injector’ Plug-in or comparable must be installed prior to executing tests.
Troubleshooting
Depending on your Jenkins configuration, you may find that UA Server runs in the background and may not be able to hook the target application.
This is more likely to occur when executing individual Tests than with Test Sets.
The problem is caused because the background UA Server does not have the target application extension enabled.
Here are the steps to resolve this issue:
- Go to ‘Manage Jenkins’.
- Click on ‘Manage Nodes' (and Clouds).
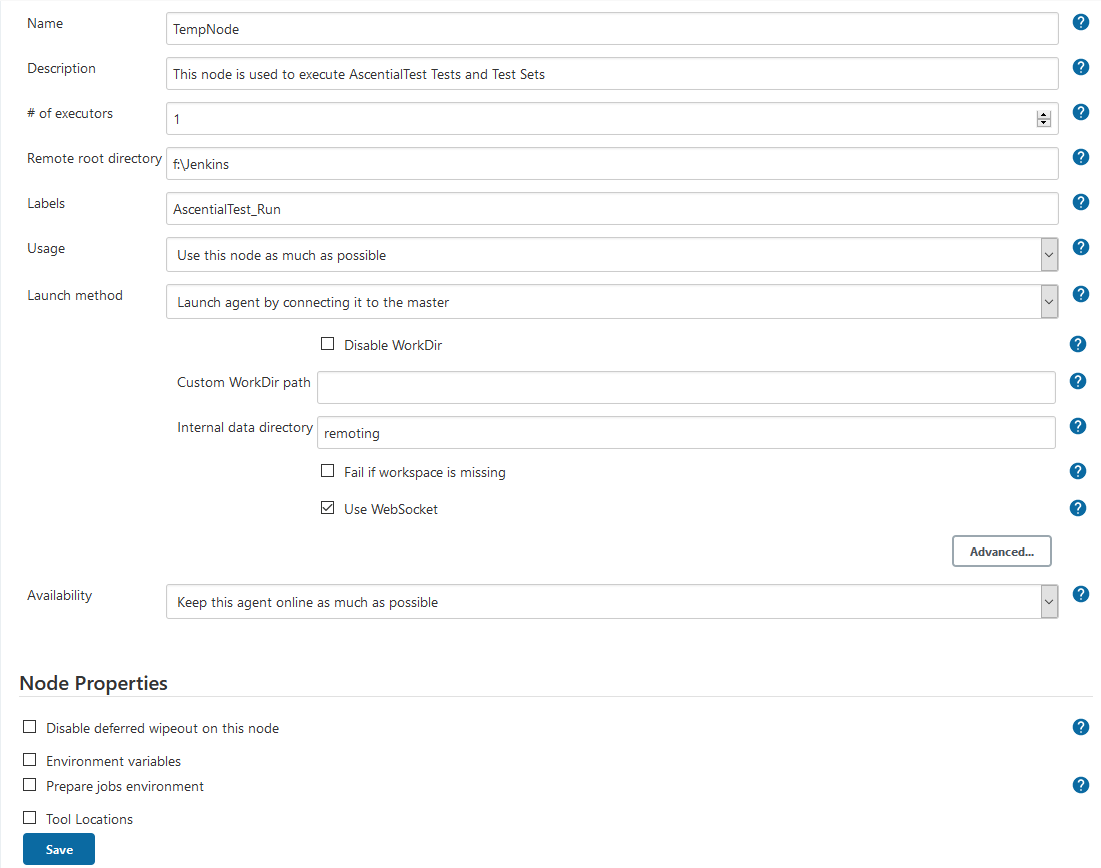
- Select ‘New Node’ and provide a Node Name
- Select ‘Permanent Agent’ and click ‘OK’.
- Configure the node as follows:
- Go Back to Manage Jenkins > Manage Nodes and click on your newly created node.
- Click on the Launch button and save the slave-agent.jnlp file.
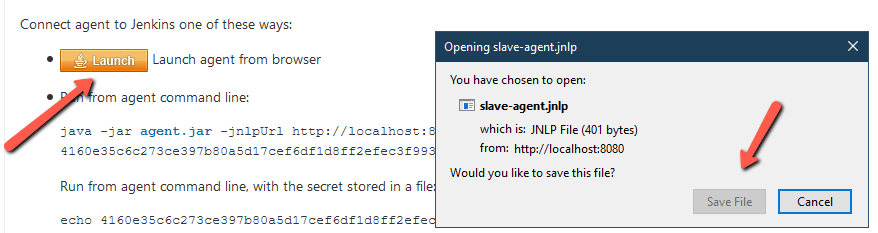
- From your ‘Downloads’ folder, run the save-agent.jnlp file and then click ‘OK’ on the dialogbox.
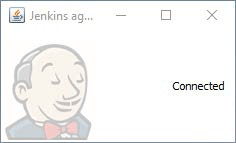
- Your Slave agent will display as ‘Connected’.
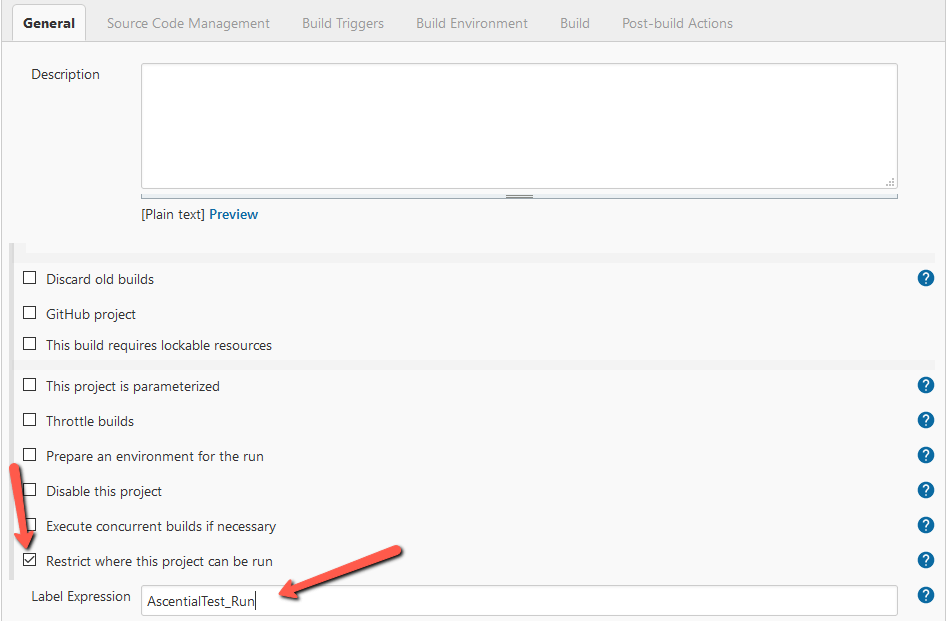
- Configure your project to use the slave agent.
- Now when you click Build to run your tests, AscentialTest and UA Server will run in the foreground and your tests will run as expected.
If you have any questions about the AscentialTest Jenkins Plug-in,
please contact Novalys Support at ascentialtest@novalys.net. We are here to answer your questions.